Hello, cherished baking enthusiasts! Today, we are breaking all the traditional rules of baking. We will explore four incredible chocolate recipes designed for ease, speed, and health—using no oven, no refined flour (maida), and minimal fats.
This guide is your passport to becoming a dessert maestro using just the simple ingredients found in your pantry.
Let’s begin this culinary transformation!
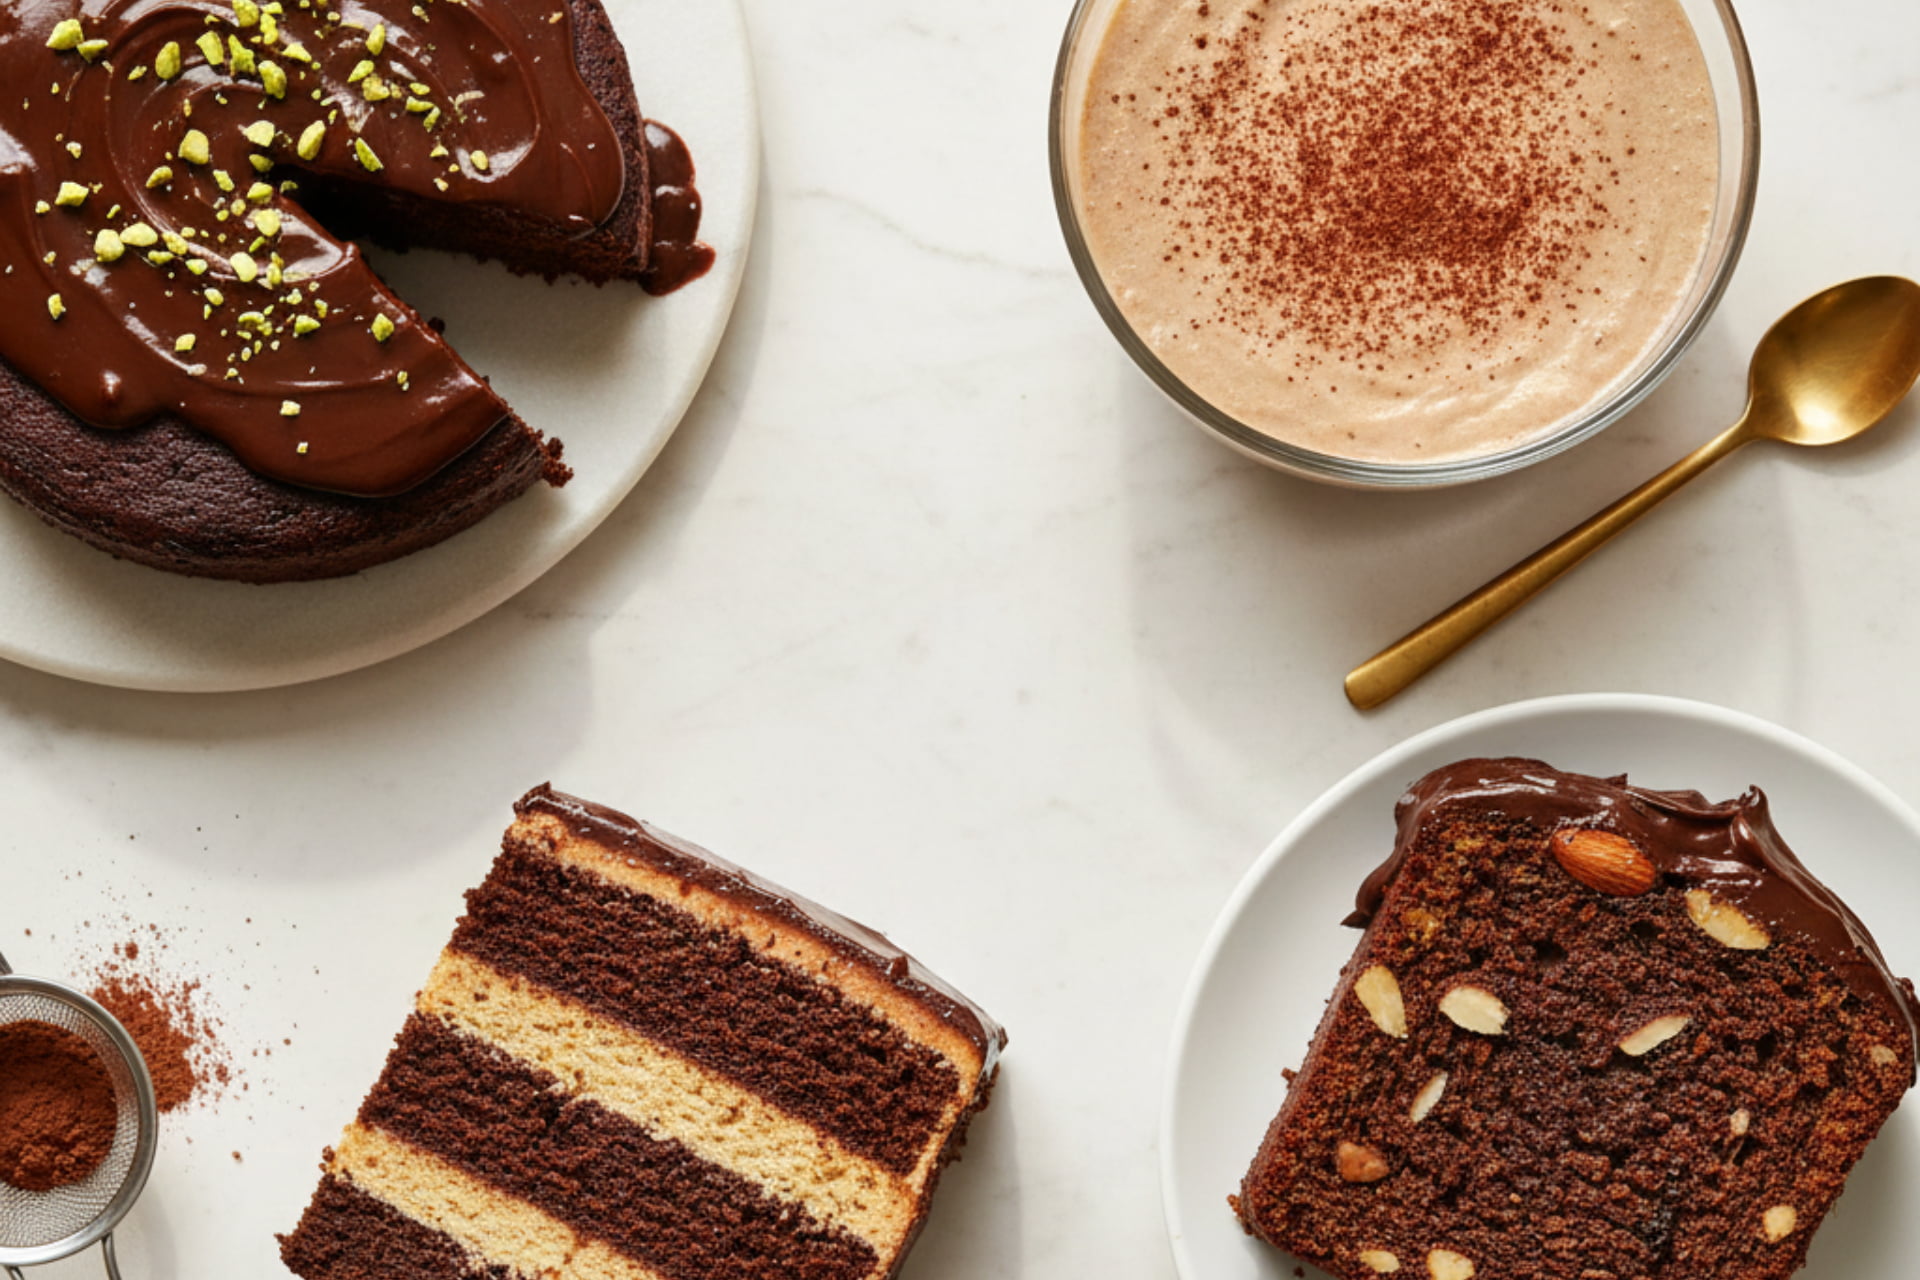
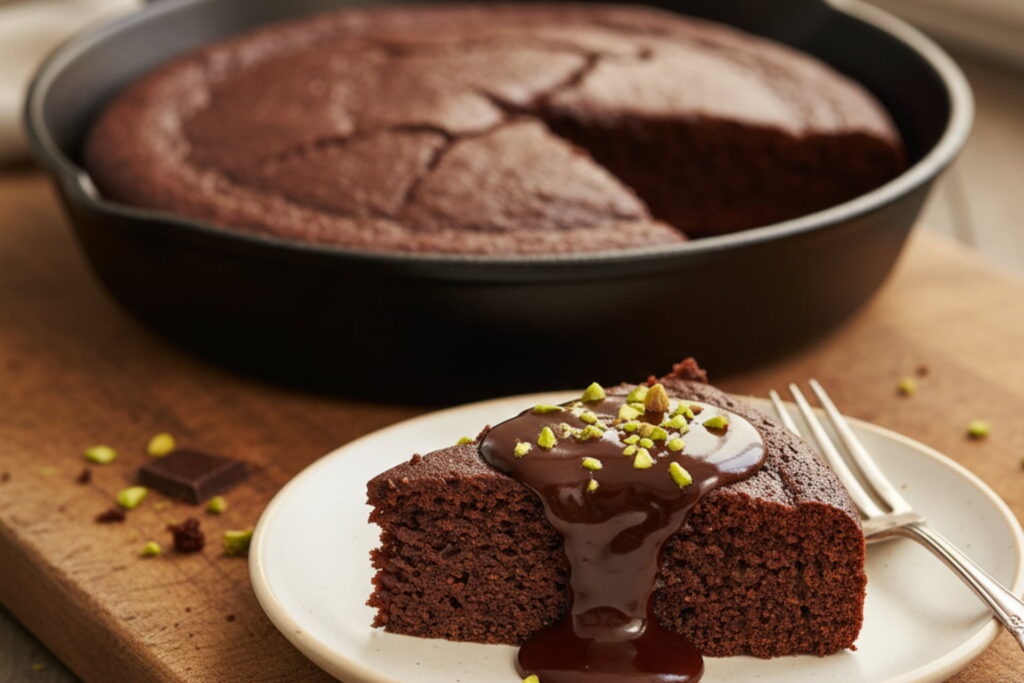
1. The 10-Minute Miracle: Ultra-Moist Pan Chocolate Cake
This unique recipe delivers an extra soft, moist, and spongy chocolate cake baked right on your stovetop in a regular pan.
I. The Foundation: Homemade Buttermilk (The Moisture Secret)
The secret to this cake’s amazing moisture is the creation of homemade buttermilk, which is activated by an acid.
- Warm the Milk: Start by taking about half a cup of milk. Crucially, warm the milk slightly—just enough so you can comfortably touch it. Do not boil it.
- Add the Acid: Transfer the warm milk to a clean bowl. Next, add 1 large tablespoon of vinegar to the milk.
- The Substitute: If vinegar is unavailable, the same quantity of fresh lemon juice can be used.
- Set Aside: Place this mixture aside. Consequently, the milk’s temperature will drop to room temperature, and it will curdle, forming a thick, yogurt-like consistency. This is our homemade buttermilk.
II. Pan Preparation: Stovetop Baking Setup
Since we are skipping the oven, preparing your mold correctly is essential for even heat distribution.
- Select the Pan: Use a normal, deep, regular pan typically used for everyday cooking. However, ensure the pan has a thick base. This prevents the cake from burning.
- Greasing: Grease the pan with a tiny amount of desi ghee. It is important to note that oil or butter can be skipped entirely here.
- Lining: Then, line the base with a fitted piece of butter paper. With this step complete, your mold is ready.
III. Batter Formulation: The Wholesome Mix
Now, we integrate our ingredients into the activated buttermilk.
- Wet Ingredients: To the homemade buttermilk, add half a cup of powdered sugar. If you chose to include ghee, add half a tablespoon of desi ghee now.
- Whisking: Whisk these ingredients vigorously for 30 to 40 seconds. Continue until the mixture transforms into a light, creamy consistency.
- Sifting Dry Ingredients: Place a strainer over the bowl.
- Flour: Add 1 cup of whole wheat flour (normal household atta).
- Cocoa: For the rich chocolate flavor, add 1/4 cup cocoa powder.
- Leavening: Include 1 tablespoon of baking powder and 1/4 teaspoon of baking soda.
- Seasoning: A pinch of salt must be added. Sift all these dry ingredients together.
- Folding: Use a spatula to gently fold the dry and wet ingredients. Crucially, never over-mix or mix rapidly at this stage, as this develops gluten and makes the cake tough.
- Consistency Check: If the batter is too thick, incorporate a little more milk. If there are lumps, use the whisk, but only run it slowly in one single direction until the lumps are gone. Now, the smooth batter is ready.
IV. Pan-Baking Perfection (The 10-20 Minute Cook)
Pour the finished batter into the prepared pan mold. Tap the pan gently to remove any large air bubbles, or use a toothpick to burst them.
- Method A (Thick-Base Pan): If your pan has a thick base, you can place it directly on the gas stove. Cover it and cook for 10 minutes on a very low flame.
- Method B (Thin-Base Pan/Double Layer): Alternatively, if your pan is thin, use a double-layer system.
- Prepare Tawa: Take a regular tawa (griddle) and heat it thoroughly on a high flame.
- Bake: Once the tawa is piping hot, reduce the flame to very low and place the pan on top of the tawa. Because of the double layer, the baking time will increase to 18 to 20 minutes, but this ensures the cake will not burn.
- Doneness Check: After the minimum time has passed, check the cake using a toothpick. If the toothpick comes out dry, the cake is perfectly done.
- Cooling: Turn off the gas and set the cake aside to cool completely. This rest ensures the cake achieves its signature extra-soft and moist texture.
V. Enhancing Moisture: Coffee Syrup
While the cake cools, we prepare a syrup to ensure maximum moisture.
- Syrup Ingredients: Mix half a cup of warm water, 1.5 spoons of powdered sugar, and 1 teaspoon of coffee powder until dissolved.
- The Option: Alternatively, if coffee is not preferred, a plain sugar syrup can be used.
VI. The Ultimate Chocolate Sauce
This rich, creamy chocolate sauce elevates the cake to a professional level.
- Base: Take 1 cup of milk. Add 2 large spoons of cocoa powder and 1 spoon of cornflour.
- Lump Removal: Use a whisk to mix these ingredients thoroughly until all lumps are dissolved.
- Sweetness & Creaminess: Add 1/4 cup of sugar and 1/4 cup of fresh cream (malai).
- Extra Chocolate: For an extra chocolaty flavor, you may add a few chunks of chocolate chips, milk, or dark compound chocolate (optional).
- Cooking: Place the mixture on a low flame and stir constantly with a whisk. Cook until the sauce becomes thick and creamy and begins to bubble. This process ensures a smooth, luscious texture.
VII. Final Assembly and Presentation
De-molding: Once the cake is cool, gently de-mold it and peel off the butter paper.
Moisturizing: Use a fork to prick holes all over the cake’s surface. Pour the room-temperature coffee syrup over the cake. This infusion makes the cake incredibly moist.
- Glazing: Once the chocolate sauce is at a normal temperature, pour it over the cake and spread it evenly.
- Garnish: Finally, garnish the cake with chopped pistachios (pista). The combination of chocolate and pistachio is absolutely delightful.
The No-Oil, No-Oven Chocolate Cake is now ready to be enjoyed!
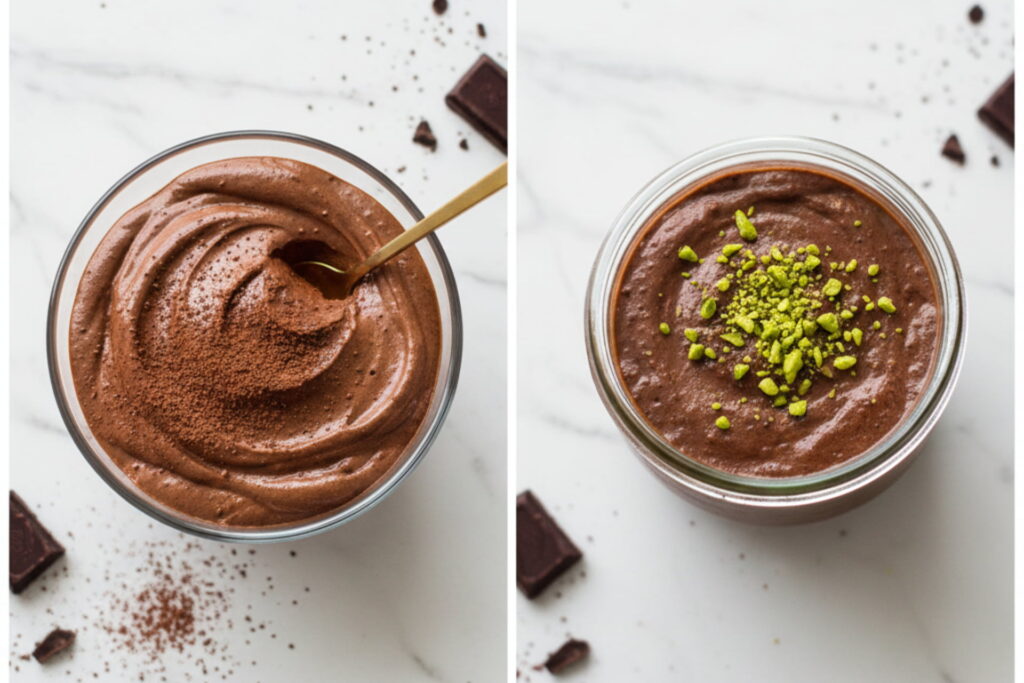
2. The Guilt-Free Treat: Healthy Paneer Chocolate Pudding
This is a quick, protein-rich cake that satisfies your chocolate pining without the guilt of heavy cream or refined sugar.
- Prepare Paneer: Break 150 g of paneer gently with your hands.
- Blend: Put the broken paneer into a blender jug. Add 7 tablespoons of milk, 1.5 tablespoons of cocoa powder, and honey for sweetness.
- Richness: Pour in 1/3 cup of melted dark chocolate.
- Blend Until Smooth: Blend thoroughly until the mixture becomes completely smooth and creamy.
- Set: Pour the pudding into a serving bowl and refrigerate for 6 to 8 hours or overnight to set firmly.
- Serve: After setting, dust the surface with cocoa powder and enjoy your healthy, satisfying chocolate dessert.
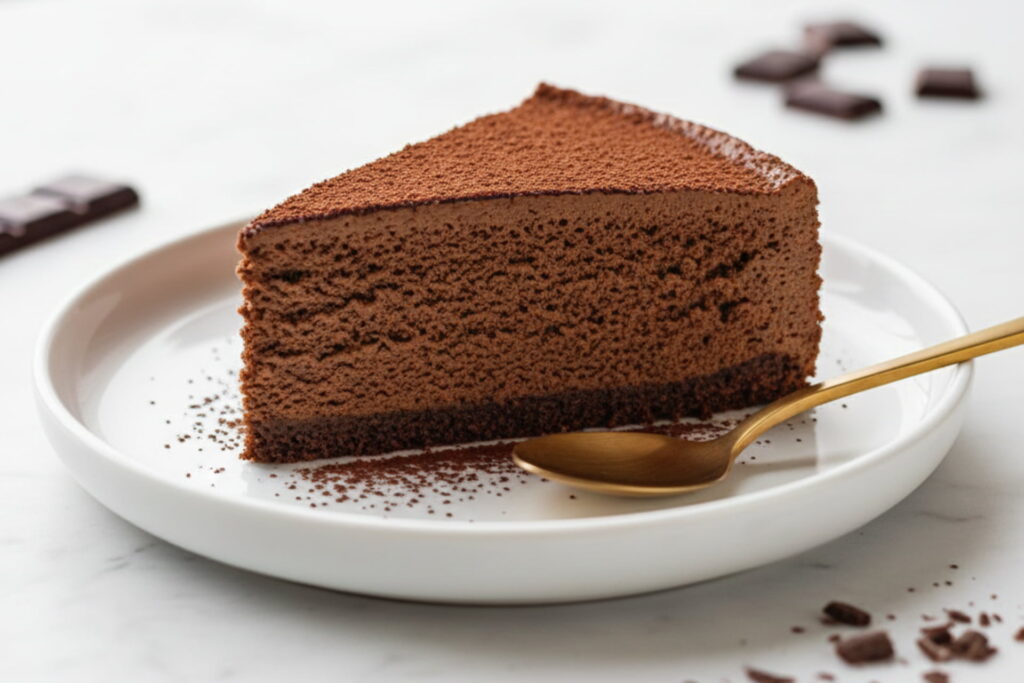
3. Dreamy Dessert: No-Bake Chocolate Mousse Cake
This recipe creates a light, airy, and creamy chocolate mousse cake without the need for eggs or baking.
I. Mousse Base Preparation
- Mix Dry: In a bowl, add 1/2 cup flour and 1/4 cup cocoa powder. Mix with a whisk.
- Add Milk: Gradually pour in 1 liter of milk while continually whisking slowly to ensure no lumps are formed.
- Strain: Next, strain the entire mixture into a second vessel to ensure a silky-smooth base.
- Flavors: Add 1/2 cup sugar, 1/2 cup whipping cream, and a pinch of salt. Mix well.
II. Thickening and Setting
- Cook: Place the mixture on a low flame and stir constantly. Cook until the cocoa color deepens, and the mixture begins to thicken.
- Chocolate: Once it achieves a thick consistency, add 1/2 cup dark chocolate. Continue stirring on the flame.
- Flavor: At this point, add 1 tablespoon of vanilla extract and mix briefly.
III. Chilling (The Long Wait)
- Mold: Take a 6-inch mold, grease it lightly with oil, and line it with butter paper.
- Pour & Tap: Pour the mousse mixture into the mold. Gently tap the mold to remove any trapped air and ensure a flat surface.
- Set Time: Place the mold in the fridge to set for 8 hours or overnight.
- Serve: De-mold the set mousse cake. Peel off the butter paper. Dust with cocoa powder, slice, and serve the rich, creamy no-bake mousse.
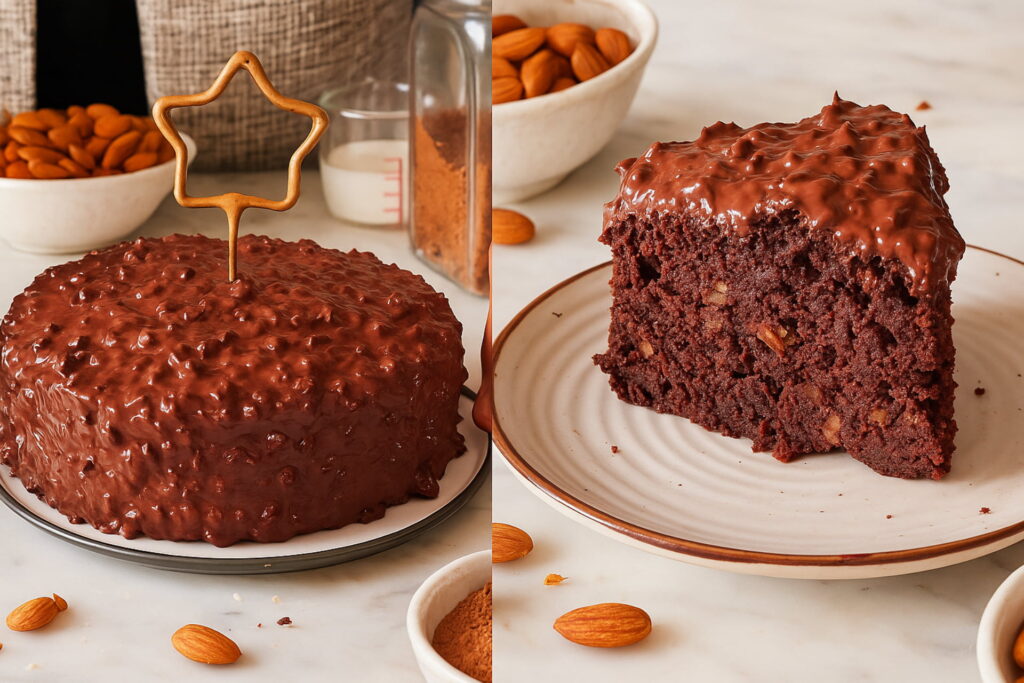
4. The Healthy Choice: Almond Ragi Mocha Cake (No Egg, No Refined Sugar)
This is a hearty, wholesome cake that utilizes ragi flour and jaggery powder, baked in a pressure cooker.
I. Wet Ingredients Activation
- Curd and Soda: In a bowl, combine 1 cup of curd and 1/2 teaspoon of baking soda. Whisk lightly.
- Sweetener and Fat: Add 3/4 cup jaggery powder, 1/4 cup warm milk, 2 tablespoons coffee syrup, and 1/2 cup melted butter. Whisk thoroughly until well combined.
II. Dry Ingredients and Nuts
- Flours: Add 1/2 cup ragi flour and 1/2 cup whole wheat flour.
- Flavor: Include 1/4 cup cocoa powder and 1 tablespoon baking powder.
- Nuts: Add 1/2 cup chopped almonds. Mix all these components well with a spatula until just combined.
III. Cooker Baking Method
- Prepare Mold: Grease the cake pan with oil, line it with butter paper, and pour in the batter.
- Preheat Cooker: Heat a cooker on a high flame for 10 to 15 minutes. Add salt to the base to prevent scorching.
- Bake: Place the mold inside the cooker. Seal the lid, ensuring the gasket is tight, but remove the whistle so steam can escape. Reduce the flame to low. Bake for 40 to 45 minutes.
IV. ✨ Finishing Glaze
- Glaze Mix: In a bowl, mix 1.5 cups of chocolate and 1/3 cup of chopped almonds. Add 1 tablespoon of oil for shine.
- Serve: Pour the prepared glaze over the cooled cake and serve the healthy Almond Ragi Mocha Cake.
Stay updated with the latest blogs by visiting our website.