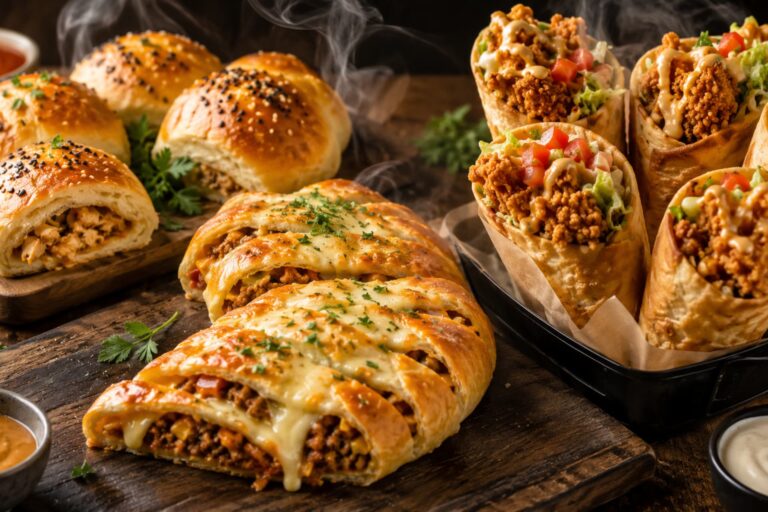
The McDonald’s Chicken Snack Wrap holds a special place in many fast-food lovers’ hearts. This wrap is a perfect mix of crispy chicken and fresh lettuce. It also has shredded cheese and a creamy sauce that ties everything together. It’s the perfect quick snack. Even if it’s not on the menu anymore, you can easily make it at home!
This recipe brings all the classic flavors to your kitchen. Now you can enjoy this old favorite anytime you want. It’s simple to follow and incredibly satisfying.
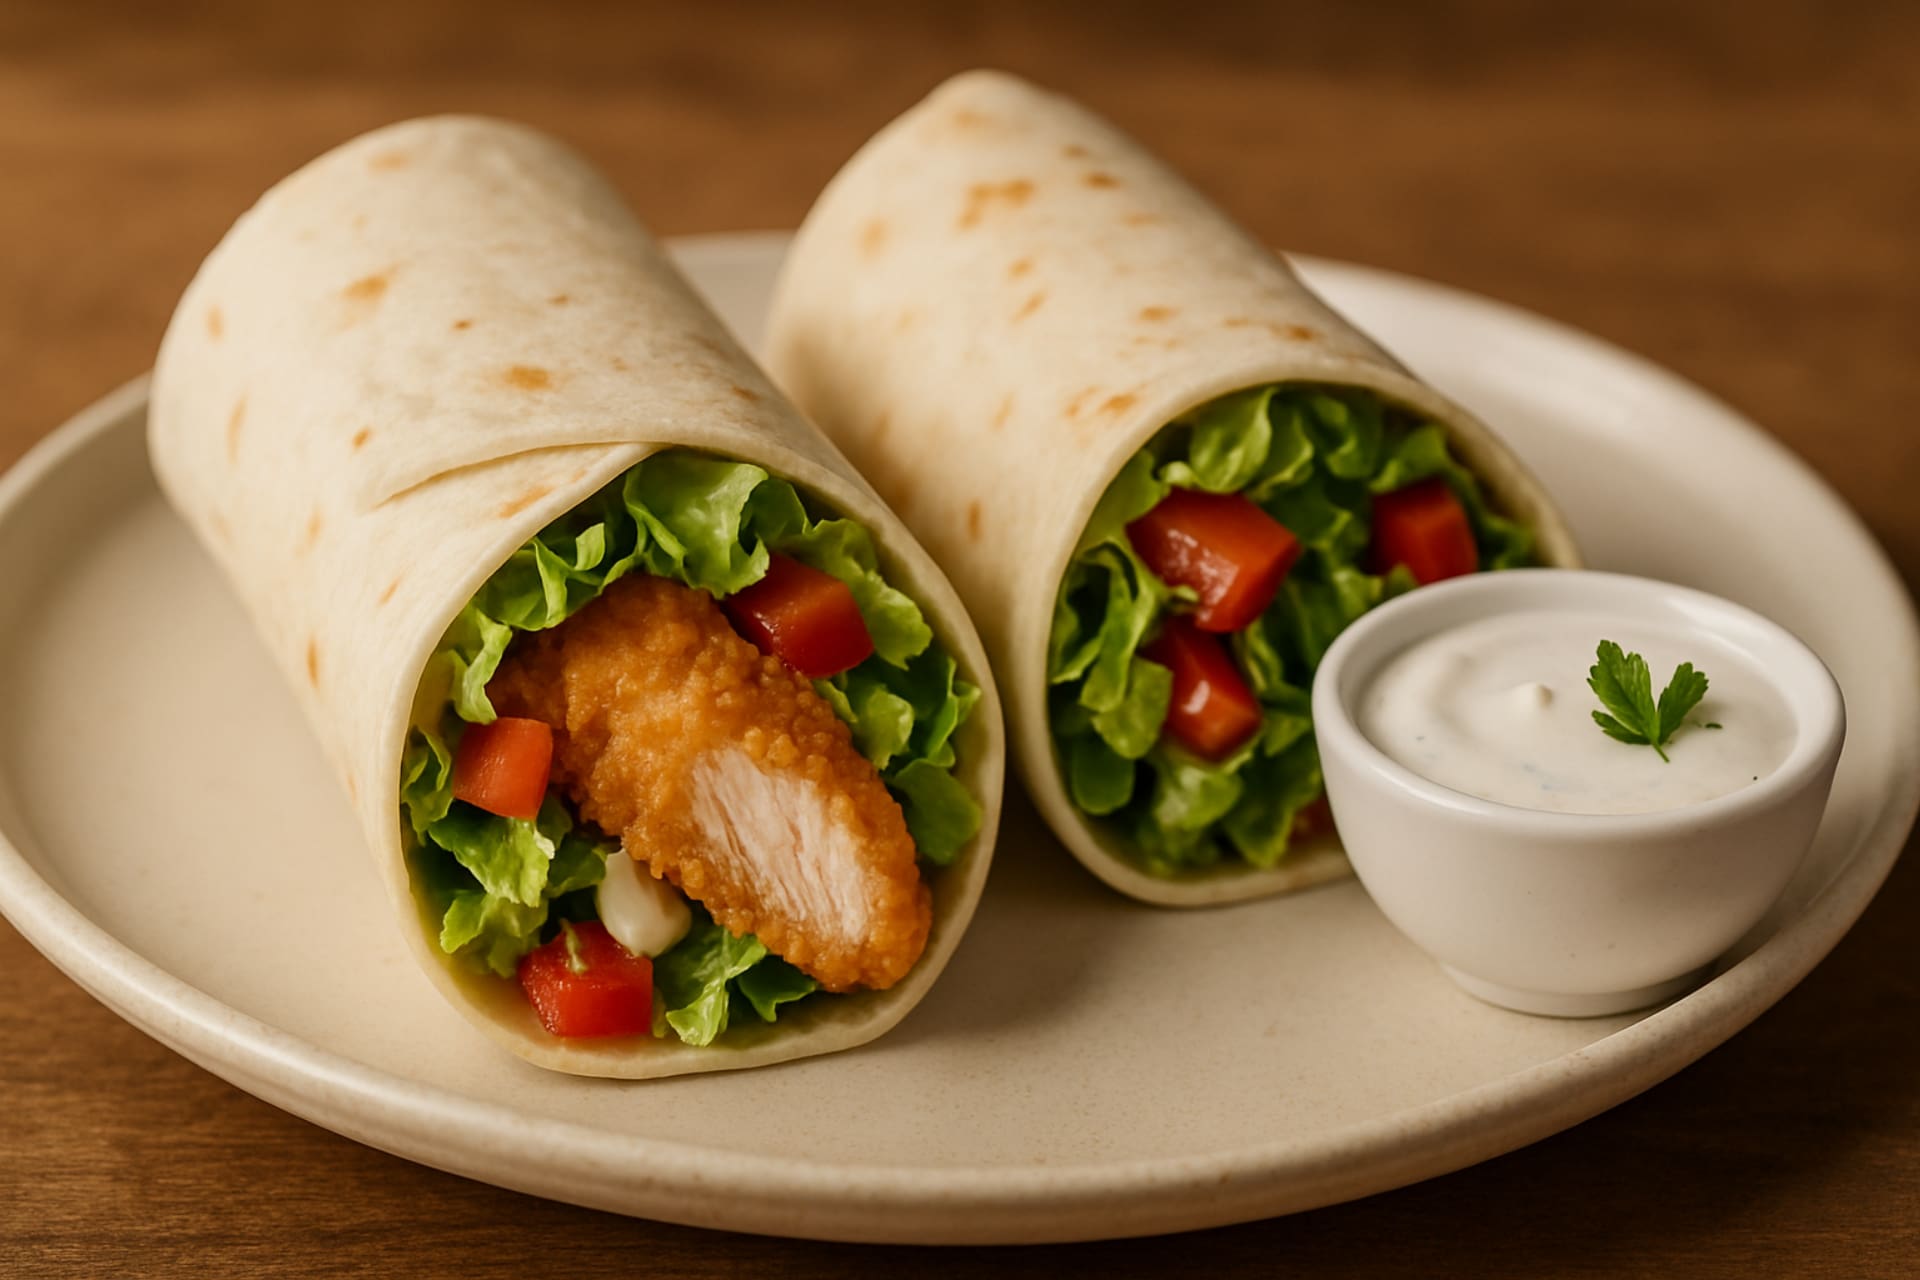
McDonald’s Chicken Snack Wrap Recipe
This recipe is made to taste just like the original McDonald’s Snack Wrap. It has the same great mix of textures and flavors.
Yields: 2-3 wraps (depending on chicken tender size)
Prep time: 15 minutes
Cook time: 15-20 minutes
Total time: 30-35 minutes
Ingredients You’ll Need:
To capture that authentic taste, here’s what you’ll gather:
For the Crispy Chicken:
- 1.5 lbs chicken tenderloins
Dry Bread Mix:
- 1 ½ cups all-purpose flour
- ¼ cup cornstarch
- 1 teaspoon baking powder
- 2 teaspoons salt
- 1 teaspoon paprika
- ½ teaspoon garlic powder
- ½ teaspoon black pepper
Wet Batter Mix:
- 1 cup buttermilk
- 1 teaspoon salt
- ½ teaspoon black pepper
- ½ teaspoon paprika
- ½ teaspoon garlic powder
- ½ teaspoon mustard powder
- ½ teaspoon onion powder
For the Classic Ranch Sauce:
- 1 cup mayonnaise
- ⅓ cup buttermilk
- 1 tablespoon yellow mustard
- ¼ to ½ teaspoon salt, to taste
- ½ to ¾ teaspoon black pepper, to taste
- ½ teaspoon garlic powder
- 1 tablespoon fresh chopped parsley
- 1 tablespoon fresh chopped chives
For Assembly & Frying:
- Vegetable oil for frying (about 1.5 to 2 inches deep in your pan)
- 2-3 large flour tortillas (burrito-sized, approx. 10-inch)
- 1 cup shredded lettuce (iceberg or romaine works best)
- ½ cup shredded Monterey Jack and cheddar cheese mixture
Step-by-Step Preparation:
Follow these detailed steps to assemble your homemade Snack Wraps:
Step 1: Prepare the Creamy Ranch Sauce
- Combine Ingredients: In a small bowl, mix the mayonnaise, buttermilk, and yellow mustard. Add salt, black pepper, garlic powder, chopped parsley, and chopped chives. Stir until everything is well blended.
- Whisk Until Smooth: Whisk everything together until the sauce becomes smooth and creamy.
- Chill: Cover the bowl and refrigerate the ranch sauce at the same time as you put together the chicken. Chilling allows the flavors to meld beautifully.
Step 2: Prepare the Chicken Breading
- Mix Dry Ingredients: In a wide, shallow bowl, add the all-purpose flour and cornstarch. Mix in the baking powder, paprika, garlic powder, salt, and black pepper. Stir everything together. Use a whisk to combine all these dry ingredients thoroughly. Set this bowl aside.
- Mix Wet Ingredients: In a separate, deep bowl, pour in the buttermilk. Add the salt, black pepper, paprika, garlic powder, onion powder, and mustard powder. Mix these wet ingredients until well combined.
- Create Flaky Texture: Add about three tablespoons of the wet batter to the dry flour mixture. Mix it in gently. Use a fork or fingers gently to blend into dry material. This helps form small clumps in the coating, giving your chicken a flaky and crispy texture.
Step 3: Double-Coat the Chicken Tenders
- First Wet Dip: Dip one chicken tenderloin into the wet batter. Make sure it’s fully coated on all sides. Lift it out and allow any extra drip back into the bowl.
- First Dry Dip: Immediately transfer the wet tender into the dry breading mixture. Press it gently to ensure the flour mixture adheres well to all sides. Shake off any excess.
- Second Wet Dip: Dip the tender back into the wet batter mixture for a second time. Again, let any excess drip off.
- Second Dry Dip: Next, place the chicken tender back into the dry mixture. Coat it well for the final layer. Press firmly to get a thick, even crust. Shake off any loose flour.
- Repeat & Rest: Repeat this double-coating process for all remaining chicken tenderloins. Once all the tenders are breaded, locate them on a plate or twine rack and allow them to relax for at least 10 minutes. This resting period helps the batter adhere better during frying.
Step 4: Fry the Crispy Chicken
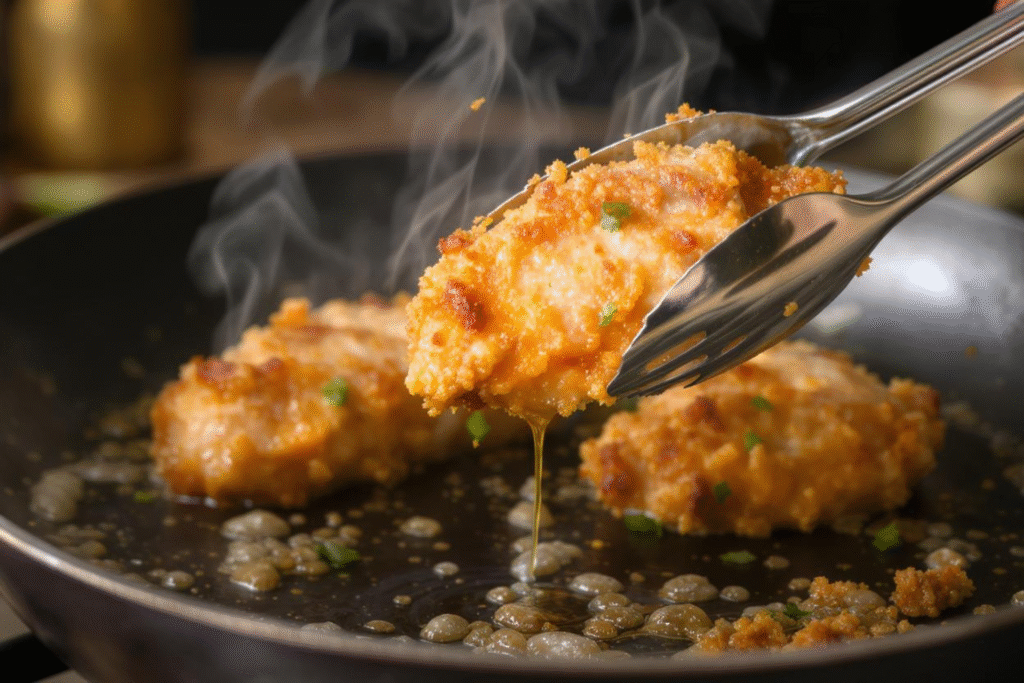
- Heat Oil: Pour vegetable oil into a large frying pan, aiming for about 1.5 to 2 inches of oil depth. Heat the oil over medium-high heat until it reaches about 350°F (175°C). If you don’t have a thermometer, test it by adding a drop of water or a pinch of flour—it should sizzle right away.
- Fry in Batches: Carefully place the breaded chicken tenders into the hot oil, one at a time. Don’t overcrowd the pan. Fry the chicken in two batches if needed. This helps keep the oil hot and ensures even cooking.
- Cook Until Golden: Fry each batch for 7–8 minutes. Turn the tenders as they cook so they become golden brown and crispy on all sides. Make sure the chicken is cooked through (internal temperature should reach 165°F / 74°C).
- Drain Excess Oil: Once cooked, use tongs to remove the chicken tenders from the pan. Transfer them to a plate lined with paper towels to drain any extra oil. Let them cool slightly before assembly.
Step 5: Assemble Your Delicious Snack Wraps
- Warm Tortillas (Optional but Recommended): To get the best results, warm your flour tortillas first. This makes them soft and easy to roll. Heat each one in a dry pan for 10–15 seconds per side. You can also microwave them for 15–20 seconds until they’re soft and easy to fold. This makes them a good deal easier to fold without tearing.
- Melt Cheese (Optional Step): Lay each warmed tortilla flat. Sprinkle a good amount of shredded Monterey Jack and cheddar cheese on each tortilla. If you want the cheese melted, heat the tortillas in the oven at 350°F (175°C) for 1–2 minutes. You can also microwave them briefly until the cheese is soft and gooey.
- Layer the Fillings: Add a layer of shredded lettuce on top of the cheese. If you didn’t melt the cheese, place the lettuce directly on the tortilla. Take one crispy chicken tender. You can keep it whole, or for easier eating and distribution, you can chop it into 2-3 smaller pieces. Place the chicken on top of the patient.
- Drop Bandi with the farm: Gently drizzle the creamy ranch sauce over the chicken and lettuce.
- Fold and enjoy!
- Fold the two short sides of the tortilla inward over the filling. Do this gently to keep everything in place.
- Then, tightly fold up the bottom edge of the tortilla over the filling.
- Continue to roll the tortilla tightly from bottom to top, creating a secure wrap.
- For a neat presentation, you can slice the wraps in half diagonally before serving.
- Serve immediately and savor the taste of your homemade McDonald’s Chicken Snack Wrap!
Stay updated with the latest blogs by visiting our website.