Welcome to my kitchen! I am so excited to share some of my favorite, most comforting recipes with you today. If you are anything like me, you know that food is not just about fuel; it is about the joy of creating something delicious from scratch. I have spent years perfecting these chicken snack recipes.
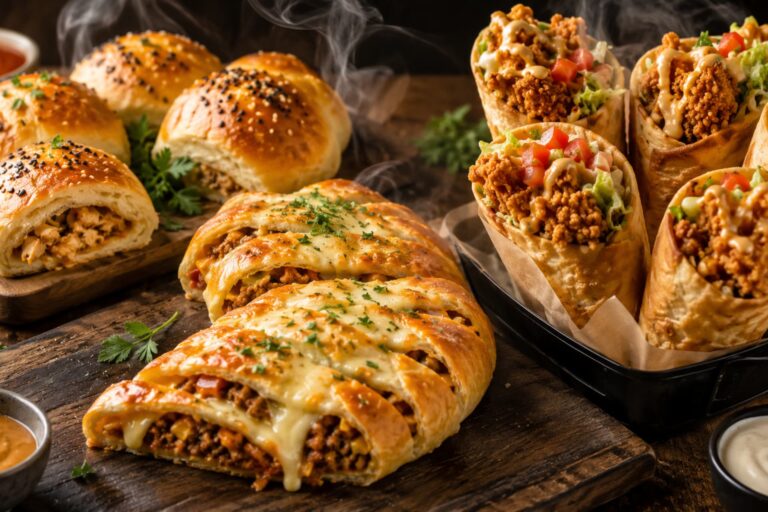
I wanted to make sure they are simple enough for a beginner but tasty enough for a professional chef. In this guide, I will show you how to make four incredible dishes: Cheesy Chicken Veggie Buns, Taco Stromboli, Baked Ravioli, and Crispy Chicken Cones.
Whether you are looking for a party snack or a midnight craving fix, I have got you covered. Let’s put on our aprons and get started!
The Foundation: The Perfect All-Purpose Dough
Before we dive into the specific recipes, I want to talk about the dough. For the first recipe, we need a soft, versatile dough. This is the same dough I use when I am making a homemade pizza.
I have shared the detailed dough recipe on this blog before. You can check it out to see the exact measurements for flour, yeast, and oil. However, the secret I always tell my friends is to let the dough rise in a warm place. This ensures that your buns or pizza crust stays fluffy and light. If the dough is just too hard, your very last dish will be hard to bite. Therefore, take your time with the kneading process!
1. Cheesy Chicken Veggie Buns: A Nutritious Delight
I love this recipe because it sneaks in so many fresh vegetables. It is a great way to feed kids (or picky adults) something healthy while making it taste like a treat.
The Preparation
Firstly, I start by preparing the vegetables. I take one bell pepper (Shimla mirch), one cabbage (band gobhi), and one onion. I also added one green chili for a tiny bit of heat. I make sure to chop all these vegetables into very small pieces. This ensures that every bite has a bit of everything.
Secondly, the chicken is boiled separately. Once it is cooked, I shred it into small pieces. I then combine the shredded chicken with the chopped vegetables in a large mixing bowl.
Creating the Flavor Profile
Now comes the seasoning. I add a little bit of tomato ketchup to give it a tangy sweetness. In addition, I toss in black pepper, red chili powder, chili flakes, and salt according to my taste. I mix everything thoroughly until the chicken and vegetables are well-coated.
Stuffing and Shaping
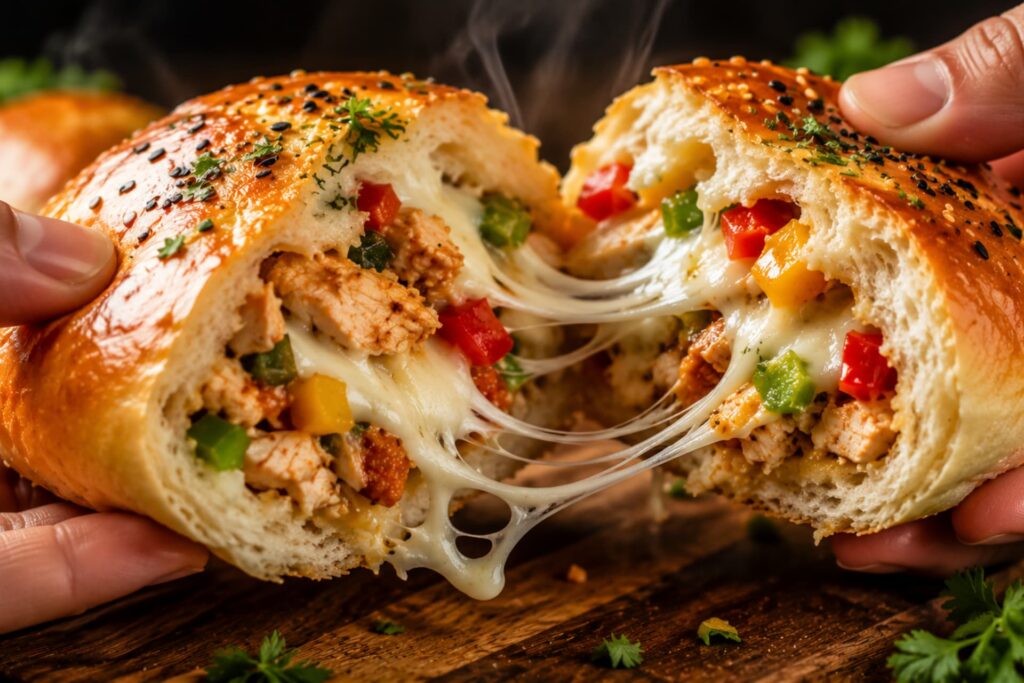
Once the filling is ready, I take the dough and make small balls (perogies). I flatten each ball with my hands. Next, I add a generous amount of crushed mozzarella or cheddar cheese. You can choose whichever cheese you prefer! I then place the chicken and vegetable mixture on top of the cheese.
I carefully knead the dough to form a smooth ball again. To give it a professional look, I press sesame seeds (til) onto both sides of the ball.
The Cooking Method
You have two wonderful options here. On one hand, you can deep fry these balls in hot oil until they are golden and crispy. On the other hand, if you want a healthier, oil-free version, you can bake them in the oven. Both methods result in a delicious, cheesy center that pulls apart beautifully. Enjoy!
2. Taco Stromboli: A Fusion Masterpiece
If you love the spicy flavors of a taco and the bready goodness of an Italian Stromboli, you are going to love this fusion. This is one of my go-to recipes for weekend dinners.
The Non-Stick Secret
I always use a non-stick pan for this. As a result, I use very little oil. I recommend that you try to use less oil in your daily cooking to stay healthy. I start by frying chopped onions in just a tiny bit of oil.
Once the onions turn a beautiful light pink, I add the meat. I usually use chicken mince, but mutton mince works perfectly as well. I cook the mince with the onions for a few minutes.
Seasoning the Meat
To get that authentic taco taste, I add a full packet of taco seasoning. I then pour in about 1/8 cup of water. I cover the pan with a lid and let it simmer. This ensures the meat is tender and fully infused with the spices.
Assembling the Stromboli
For the base, I use a pizza crust bread. I place the bread on a piece of parchment paper (butter paper). Firstly, I spread a layer of mozzarella cheese. Secondly, I add the cooked meat mixture. Thirdly, I add another thick layer of cheese on top.
I carefully roll the bread into a log shape. I make sure to pinch the sides firmly so the filling doesn’t fall out. I then use a knife to make small diagonal cuts along the top of the bread. This helps steam escape and looks beautiful. I finish it off with a final sprinkle of cheese.
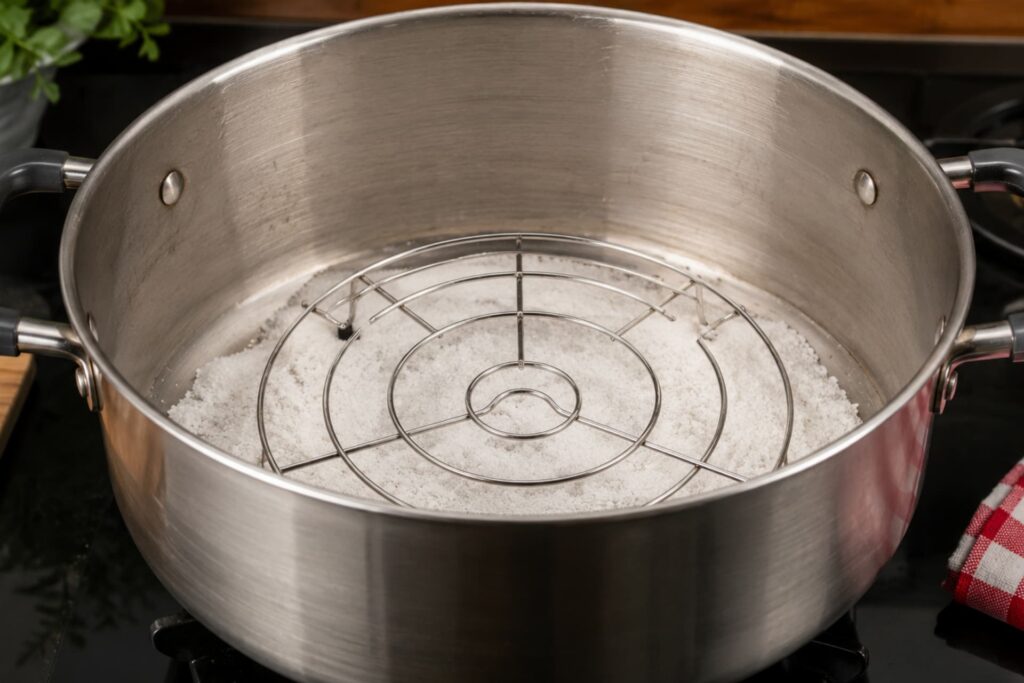
How to Bake Without an Oven
Did you know that you can “bake” this on the stove? I take a large pot and spread a layer of salt at the bottom. This prevents the pot from burning. I preheat the pot for 10 minutes. Then, I place a baking stand inside and put the bread on it. I cover it and let it cook for 20 to 25 minutes.
If you prefer an oven, simply preheat it and bake at 425 degrees for 20 to 25 minutes. The result is a crispy, cheesy, taco-filled bread that everyone will fight over!
3. Baked Ravioli: The Ultimate Midnight Snack
Sometimes, I find myself hungry at midnight, and I want something rich and comforting. This baked ravioli is the answer. It combines a hearty meat sauce with a creamy white sauce.
Step 1: The Meat Sauce
I start by cooking chopped onions and minced meat in very little oil. I season this with chicken powder, onion powder, garlic powder, salt, black pepper, and coriander powder. Finally, I pour in a good amount of pasta sauce and let it simmer.
Step 2: The Creamy White Sauce
In a separate pan, I melt some butter. I add heavy cream and cook it until it starts to boil. Furthermore, I stir in plenty of cheese, salt, and black pepper. This sauce should be thick and velvety.
Step 3: Layering Like a Pro
In a baking dish, I spread the meat sauce first. Next, I add a layer of frozen ravioli. I then pour the white sauce over the ravioli. I continue this layering process: meat sauce, ravioli, and white sauce.
I finish the dish by covering the top with fresh shredded mozzarella and a tiny drizzle of olive oil. I bake it at 350°F for about 30 minutes. The way the cheese bubbles and browns is absolutely mouth-watering.
4. Crispy Cheesy Chicken Cones: The Perfect Crunch
These cones are so fun to eat! They have a very unique texture—crunchy on the outside and incredibly creamy on the inside.
Preparing the Creamy Filling
I start by frying onions until they change color. I then add boneless chicken cubes. After the chicken has cooked for about 7 minutes, I add lemon juice for a zesty kick. I also add finely chopped green and red bell peppers.
For the spice mix, I use red chili powder, salt, black pepper, and chili flakes. Once the chicken and peppers are tender, I stir in a few spoons of heavy cream. This creates a rich, creamy texture that holds the filling together.
Shaping the Cones
For the “wrapper,” I use a standard roti or tortilla and cut it in half. I fold the half-roti into a cone shape. To seal the edges, I make a slurry using one egg, two spoons of cornflour, a pinch of salt, and red chili powder.
I dip the edges into the slurry to glue the cone together. Then, I dip the entire cone into the egg mixture and roll it in a bowl of breadcrumbs. This ensures a thick, crispy coating.
Frying and Serving
I use a pair of tongs to hold the cone while I fry it in hot oil. This helps the cone maintain its shape. Once the cones are golden brown and crispy, I fill them with the creamy chicken mixture. These are best served hot while the filling is still soft and the crust is crunchy.
Chef’s Final Tips for Success
Cooking is an adventure, and I want yours to be successful. Here are a few extra tips I have learned over the years:
- Don’t Rush the Thaw: If you are using frozen ravioli, make sure they aren’t stuck together before layering them.
- Temperature Matters: When baking on the stove, keep the lid tight. Every time you open it, you lose heat, and the bread will take longer to cook.
- Customize Your Spices: I love spice, but if you don’t, feel free to reduce the chili flakes. You are the chef of your own kitchen!
- Non-Stick is Best: As I mentioned before, using a non-stick pan really does make a difference in how much oil you consume.
I hope you enjoy making these recipes as much as I do. There is nothing better than the smell of fresh-baked bread or melting cheese filling your home. In conclusion, take these ideas, make them your own, and enjoy every single bite!
Stay updated with the latest blogs by visiting our website.